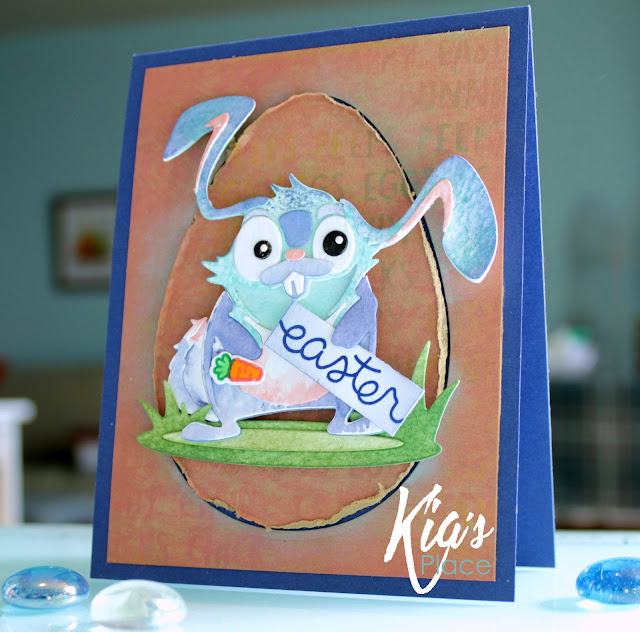
Let me introduce you to "Easter Oliver".
In the past I have been on the fence about the stamps and dies by Tim Holtz. Lately however, I have taken a shine to most of his latest releases, and today I am sharing one with you, his name is Oliver.
The look on that face and those fun ears sold me. All the pieces that go together and allow one to get their art on, are truly fun.
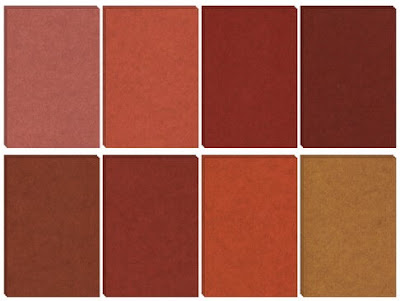
To start I am using a piece of cardstock from the "Warm" Idea-ology line of 6x9 Kraft cardstock.
The first colour in the top row, which has a pink tone to it, is the piece that I am using today. I cut a piece to fit my card front, then sanded the paper until the warmth of the kraft started coming through.
Finishing the sanding I cleaned the sheet and added the stenciling using A Colorful Life Design stencil with Easter words. I did the stenciling with distress inks in Salvaged Patina, Saltwater Taffy, Squeezed Lemonade and Prize Ribbon.
With the stencil work completed, and using an old die from Spellbinders, called Nested Eggs I die cut the egg from the stenciled sheet. I knew there was a reason why I kept them as the large one was perfect for what I needed.
Once cut, using my Zutter, I distressed the edges of the egg. I then attached the stencil card to my card base, and with foam tape attached the egg die cut.
Using Ranger distress watercolour card I die cut all the pieces for the bunny. I put down distress oxide inks on my work surface and spritzed with water. Depending on the look I wanted I either pounced the pieces in the inks, for dragged them through it.
Some needed a second go, which I did, then put everything aside to dry.
In my mini Misti I stamped the "easter" greeting from the Lawn Fawn set using VersaFine Clair ink. From the same set I also stamped a few of the carrots, which I colouored with Copics.
I then layered the pieces together using Nuvo adhesive to glue everything in place. I first added the grass piece, then added the bunny to the egg using foam tape, then glued the "easter" sentiment under his paw, and added the small carrot to the other hand.
I then had myself a good giggle. I think he is so cute, and I think my friend, who I made this for, will be very happy to give it to her hubby.
While adding in the tiny pieces my bird CC stole the little "nose", and there was no getting it back, so I left it off. I don't think it will be missed.
Thanks so much for joining me today. Following are Affiliate links for the products I have used for this card, at no extra cost to you.


0 comments
Thank you very much for commenting. I love to read what you have to say and appreciate the time you take. I monitor comments to keep those spammers out, so do not be surprised if you do not see your comment straight away.