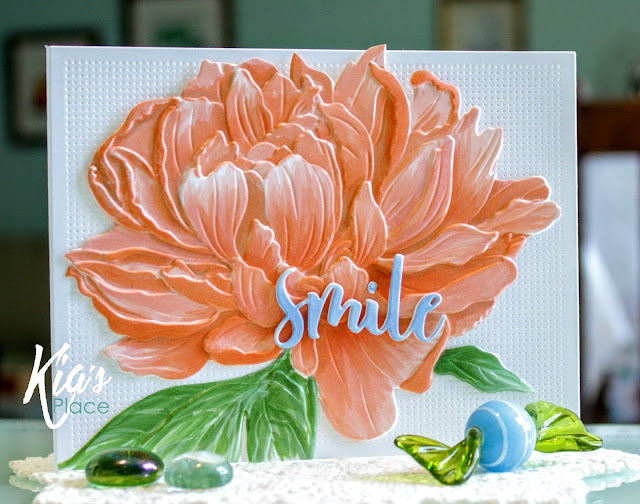
Meet "Smiles for you".
I have to say I very much enjoyed colouring this beautiful peony embossing folder from Altenew. I did fussy cut the flower as I wanted a different background with texture and a few other things which I will tell you later in this post.
To start I first ran a piece of Neenah 110lb cardstock in the Altenew folder through my Gemini Jr. I had spritzed the front and back lightly with water before doing this.
The 3D look is just beautiful. I began to colour using Copic markers and did some underpainting in areas for depth. The colours I used are:
G12, G24, YG17; E02, YR01, R02 and YR65; I underpainted with B21, which I also used on the smile sentiment.
It is the first time I have underpainted and I can clearly see the difference it makes. Copic courses certainly have helped.
As I mentioned I fussy cut the flower before I started to colour. For the background I added a piece of Neenah card which was pierced using my Waffle Flower Piercing Panel.
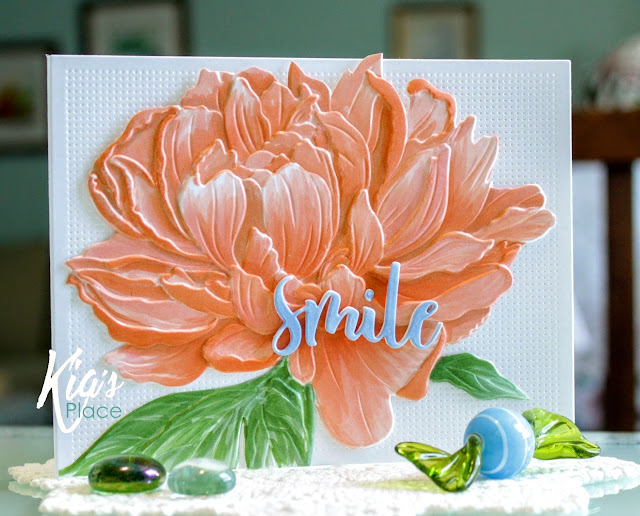
For this picture I turned the card away from the window light, which is why the colour appears different. But I wanted the different parts of the embossing to show you.
To add the flower I glued the lower part of the card using Nuvo adhesive, i.e. the leaves and lower few flowers. On the top of the card I added foam tape so the card has even more dimension at the top, not just a flat flower, per say!
For the sentiment I die cut 3 pieces, gluing them together then coloured the top sentiment using the B21 Copic markers. I then glued on the smile sentiment using Nuvo adhesive.
I must say, I love how this turned out, and I hope you do as well. I thank you for your visit with me today.
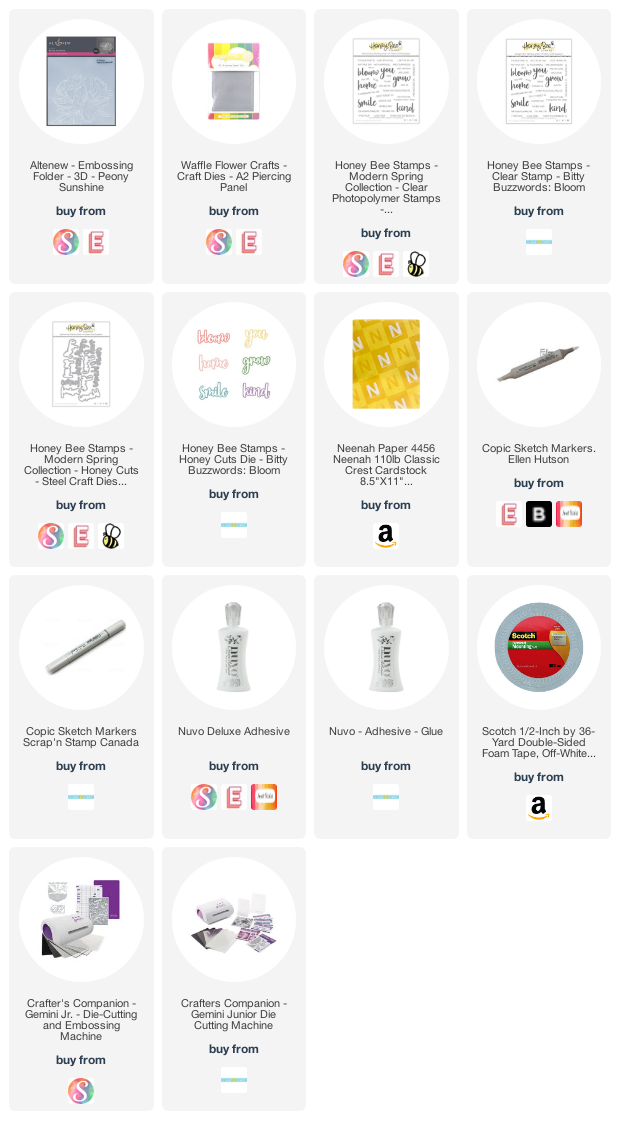
Following are Affiliate links for the products I have used for this card, at no extra cost to you.


0 comments
Thank you very much for commenting. I love to read what you have to say and appreciate the time you take. I monitor comments to keep those spammers out, so do not be surprised if you do not see your comment straight away.